Compass Marine Surveys management of yacht refit and repair projects.
Below are case studies of some of the refits and repairs I have project managed on behalf of owners.
I am currently working on the refit of two yachts. A Najad 390 and an aluminium Allures 44. Also below are descriptions of the repair work on a Jeanneau 44 after a grounding in Croatia.
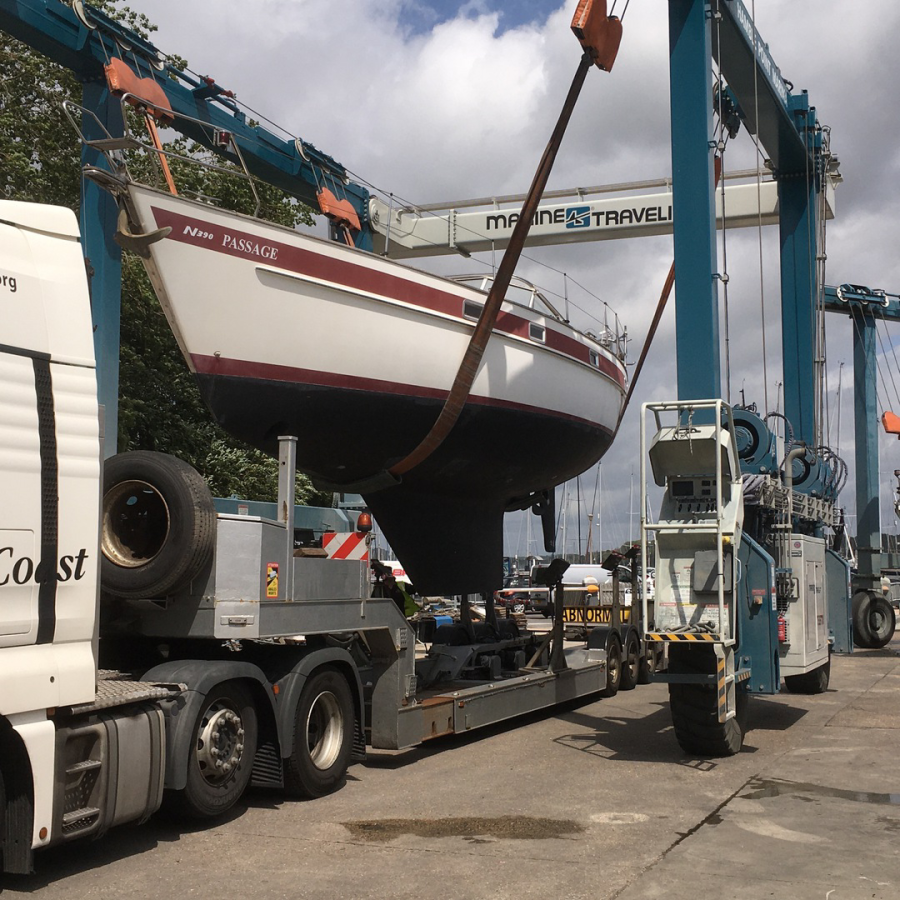 Loading at Hamble Point Marina
NAJAD 390 - Major deck reinforcement
The Najad 390 in Chichester Harbour is nearing completion of an extended refit and will soon be on the market for sale. She is a modern classic, very solidly built with a quiality fit out.
The refit has involved the reinforcement of the flush-deck, which was moving exessively with cracking around the deck hatches. After removing the teak deck, the problem that I identified at survey was revealled to its full extent. We added approximately 6mm of grp with polyester resin and gel coat with polished boundaries and a cream coloured Kiwi Grip paint.
We have also replaced all the electronics with B&G equipment, including the auto pilot control and drive. After I completed an electrical load balance for cruising in the Med, away from marinas, we have upgraded the 12V and 230V equipment
including new solar panels with MPPT (regulator), three Rolls AGM 230Ah batteries and a new Victron Multi plus inverter charger. The windlass is a new Tigress with 40m of new calibrated chain. We also fitted a bow thruster and while the deck was being reinforced (with the removal of all deck fittings) we refurbished all the deck hatches.
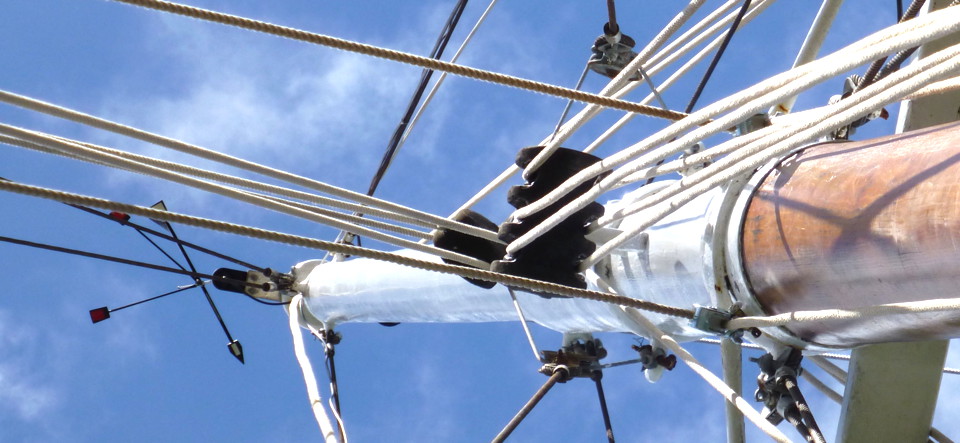
Standing rigging and the yankee furler have been replaced (she is cutter sloop rigged).
The through-hull valves have all been replaced with bronze fittings and the gas locker moved aft.
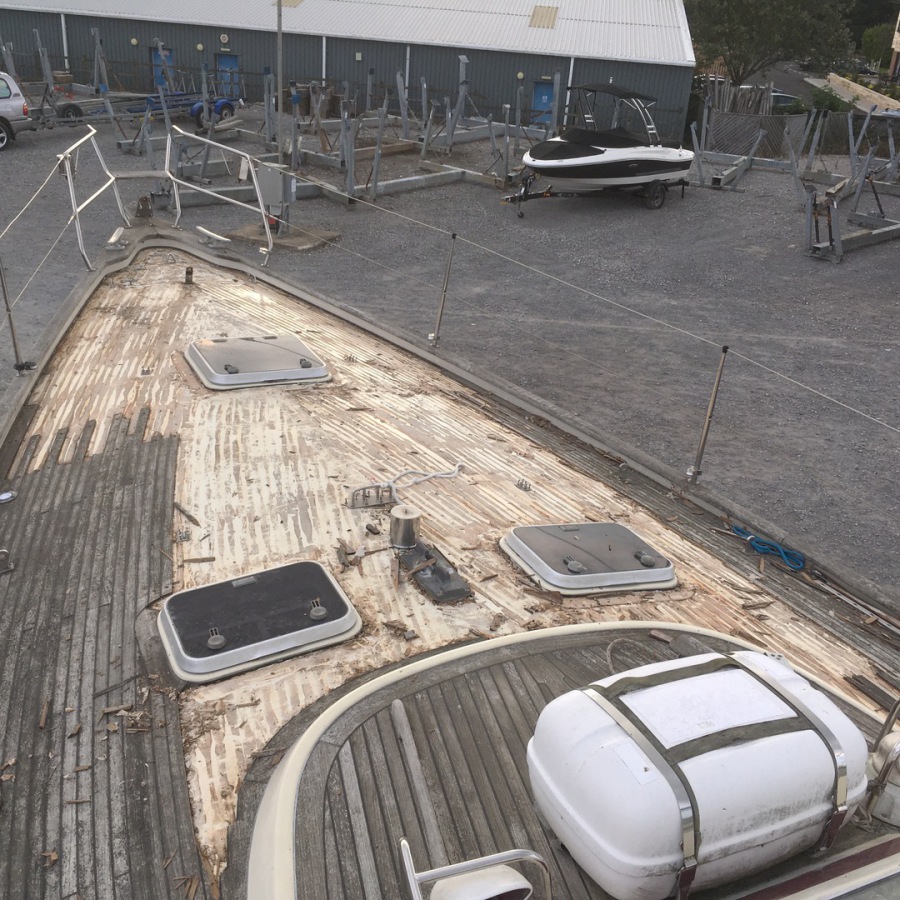
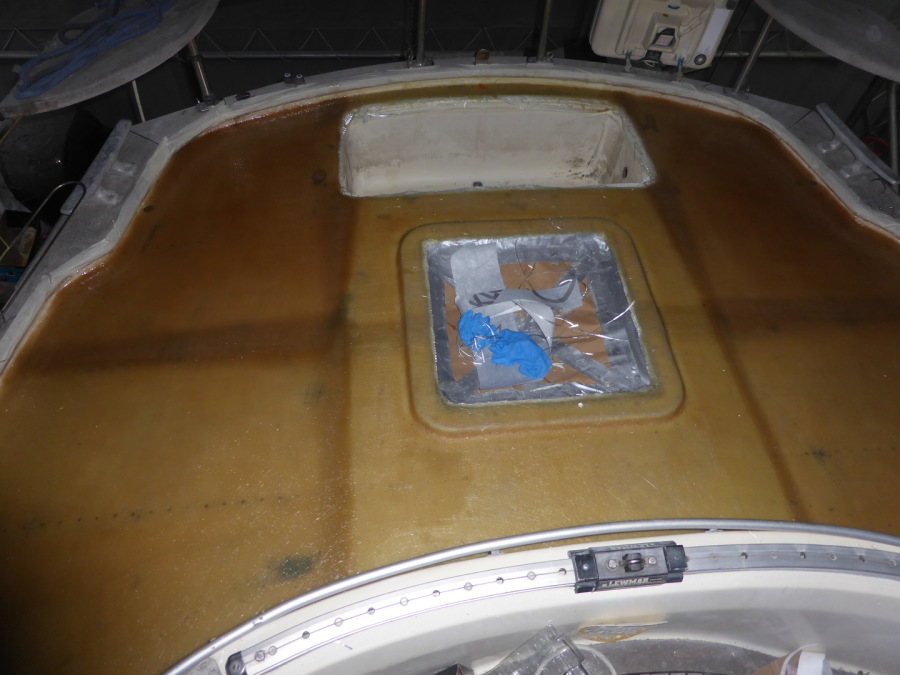
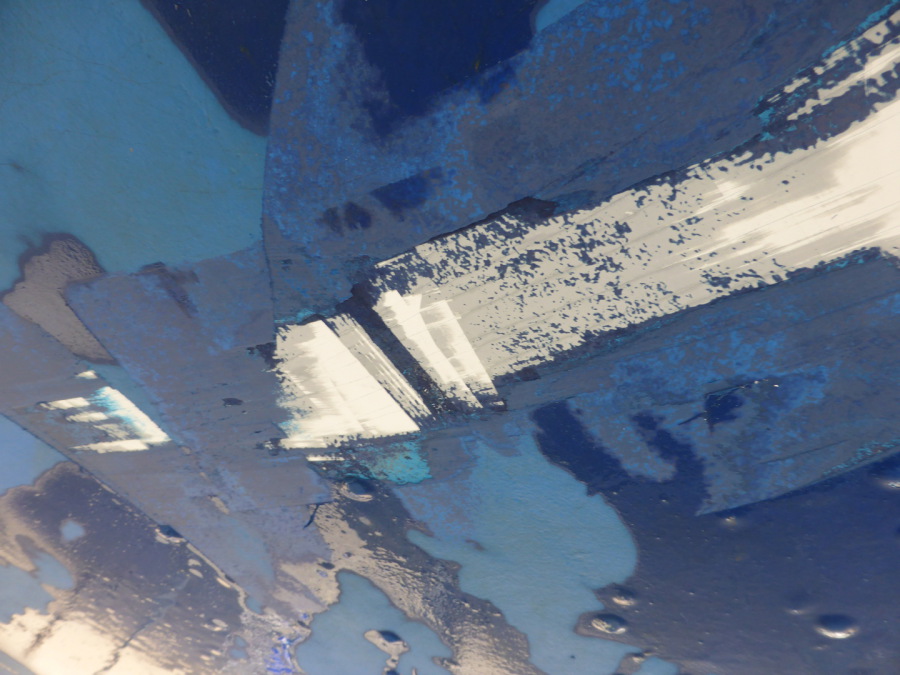
Above: Removing the teak. It came off fairly easily, suggesting this could have contributed to the weakness in the deck. But the upper layer of GRP was only 3mm thick. Not sufficient for such a large unsupported area.
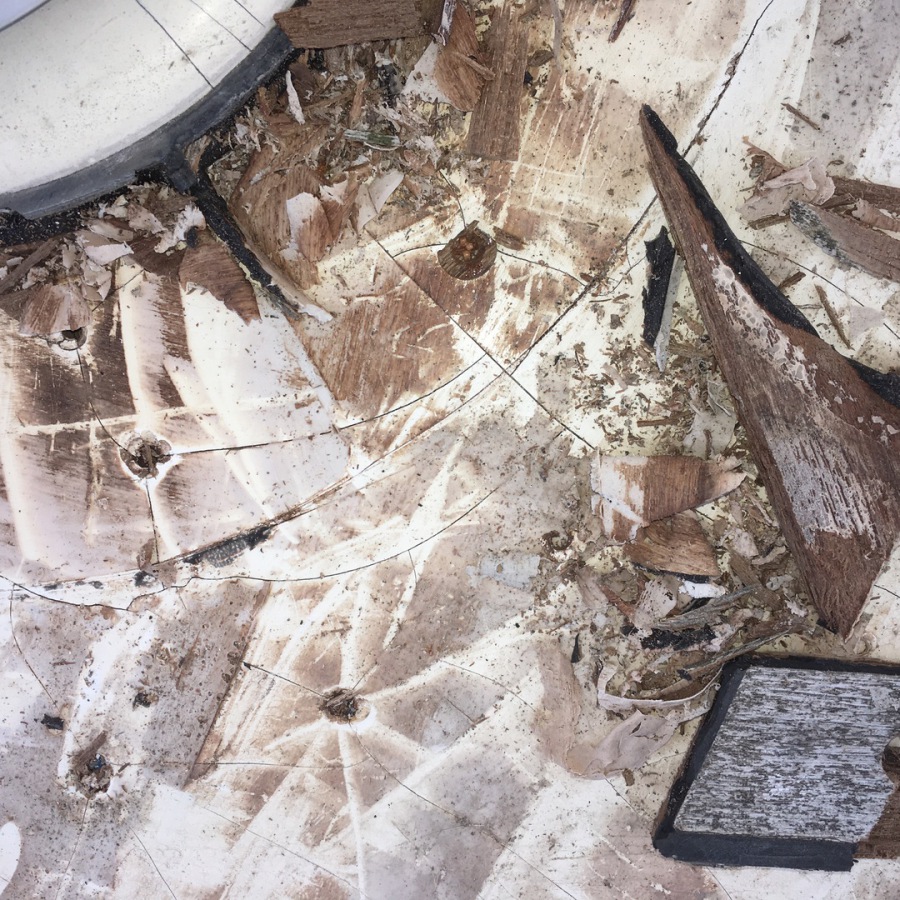
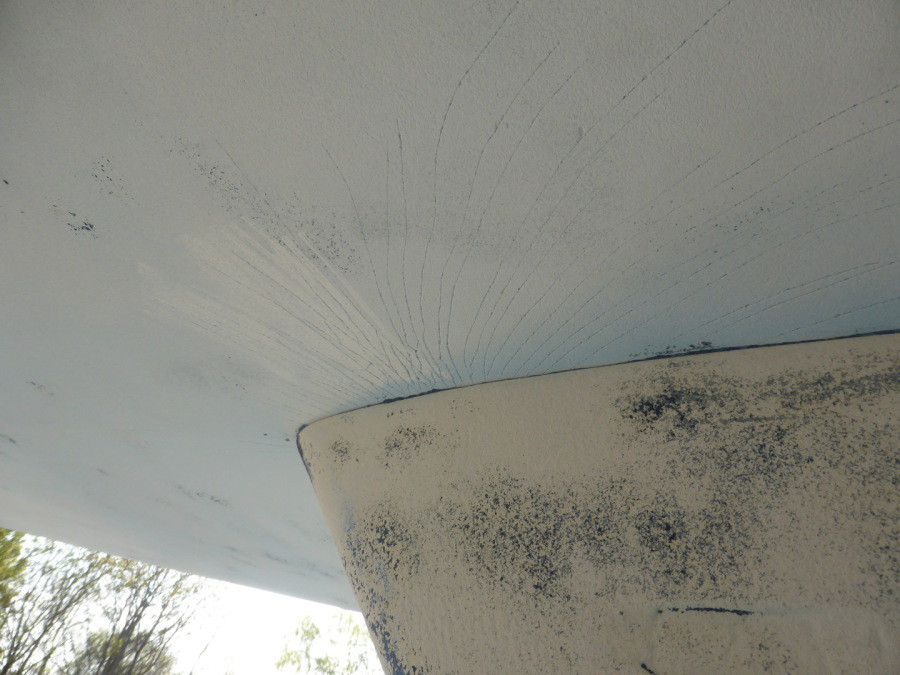
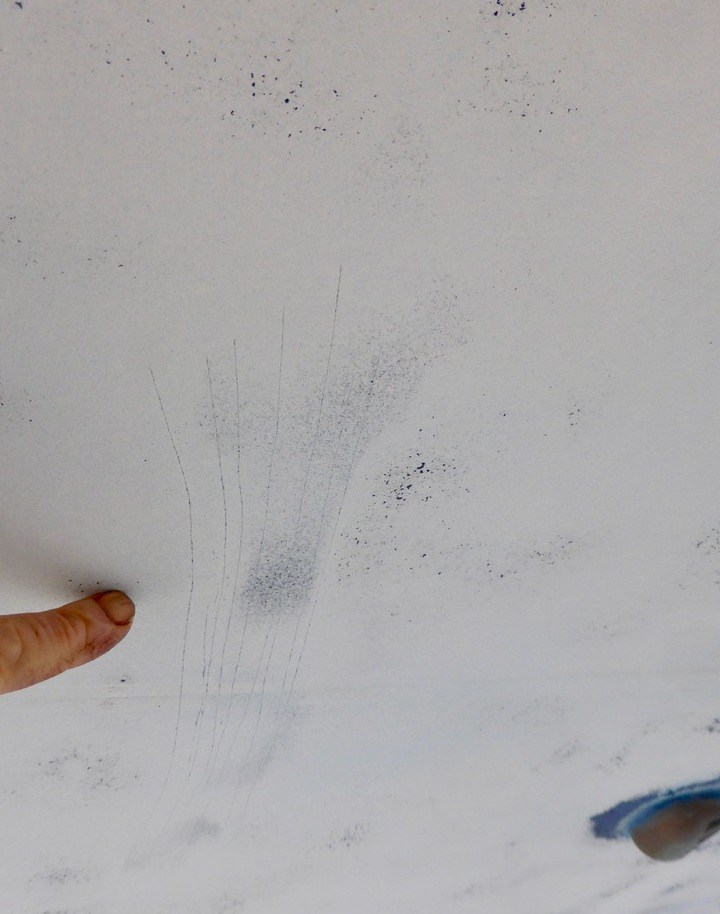
Below: cracking on the gel coat of the deck below the teak. Note the crack on the corner of the plynth for the deck hatch in top left. Amazingly, the balsa core was dry and moistur readings across the deck (onto the gel coat) were all normal except at these cracks.
Above: Repairs to the cracked areas with subsequent reinforcement of the area including the htach plynths.
Below: Glassing over the main deck to a total thickness of almost 10mm above the balsa core adding twice as much as the original thickness.
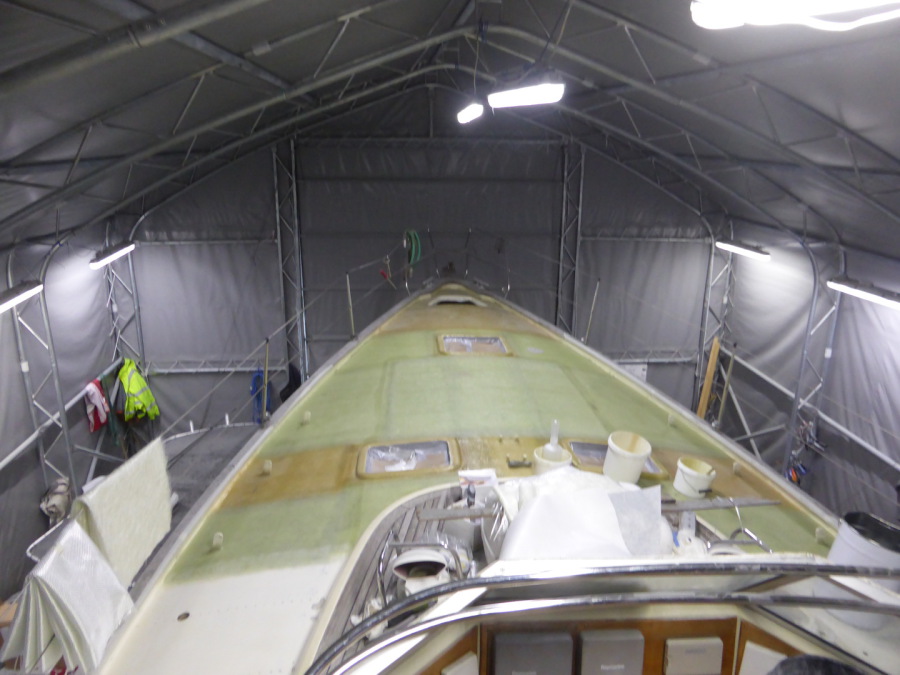
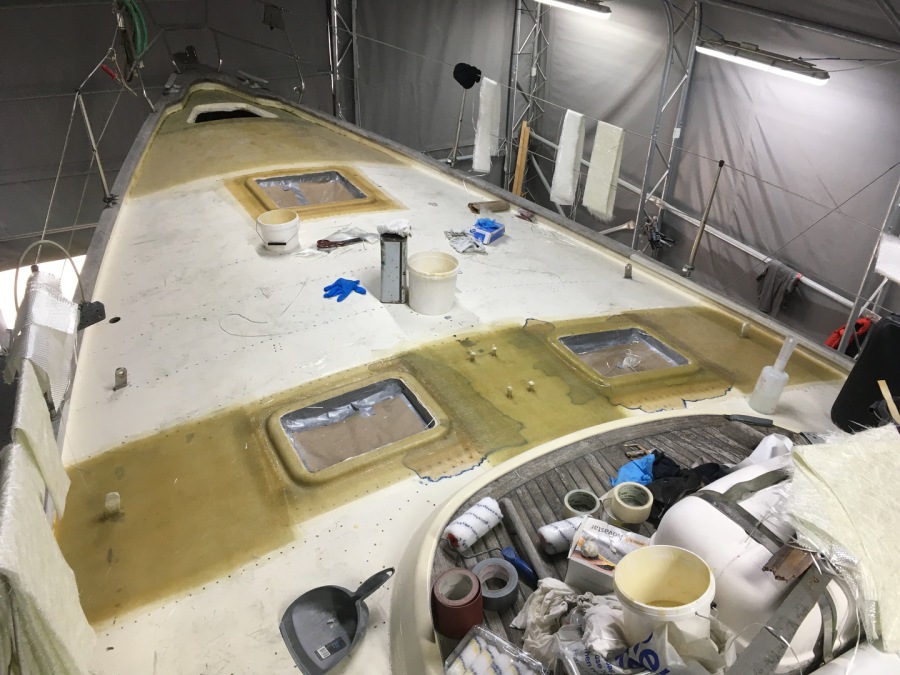
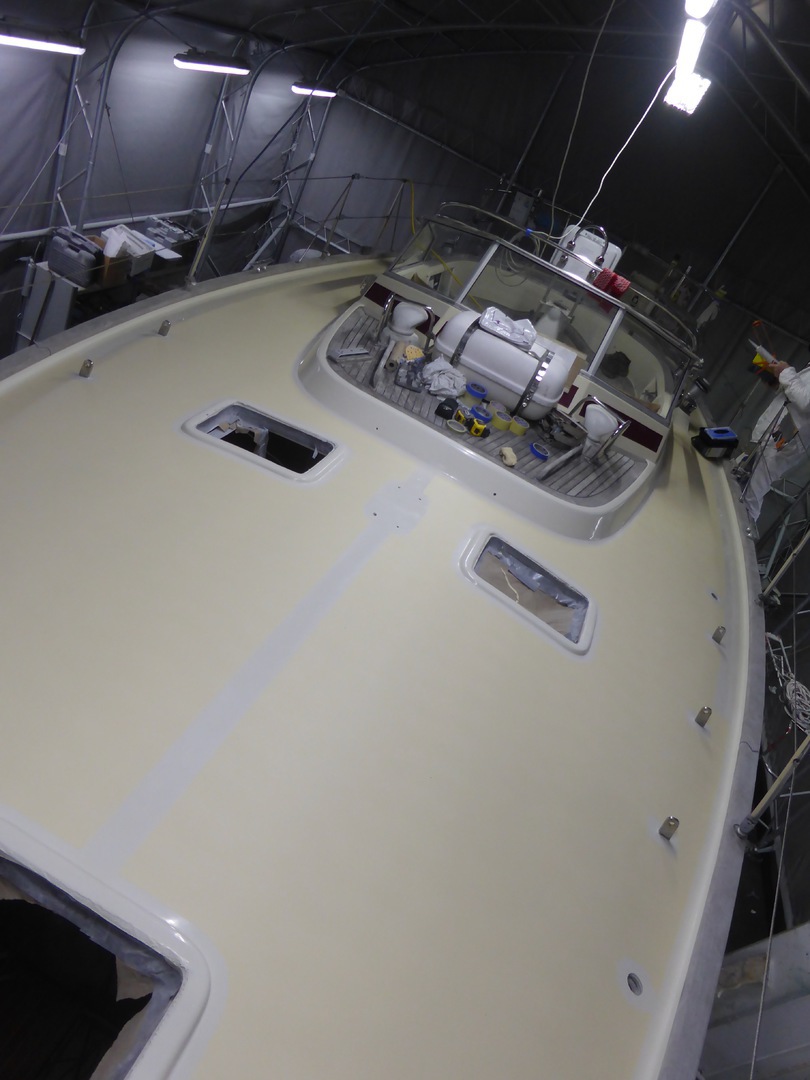
Above: Reinforced aft deck.
Below: Filling and fairing main deck before putting down the gel coat.
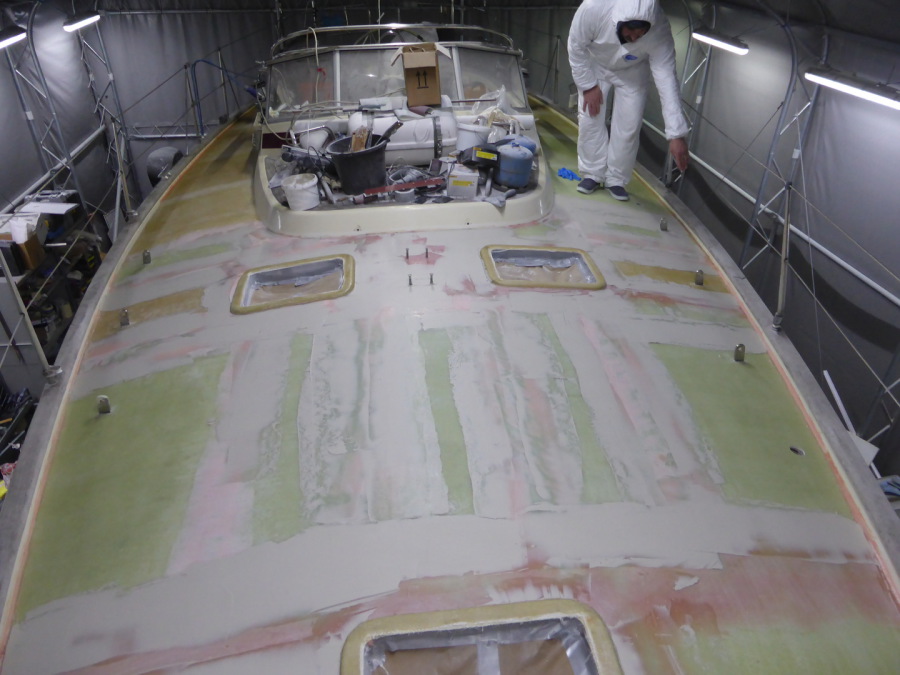
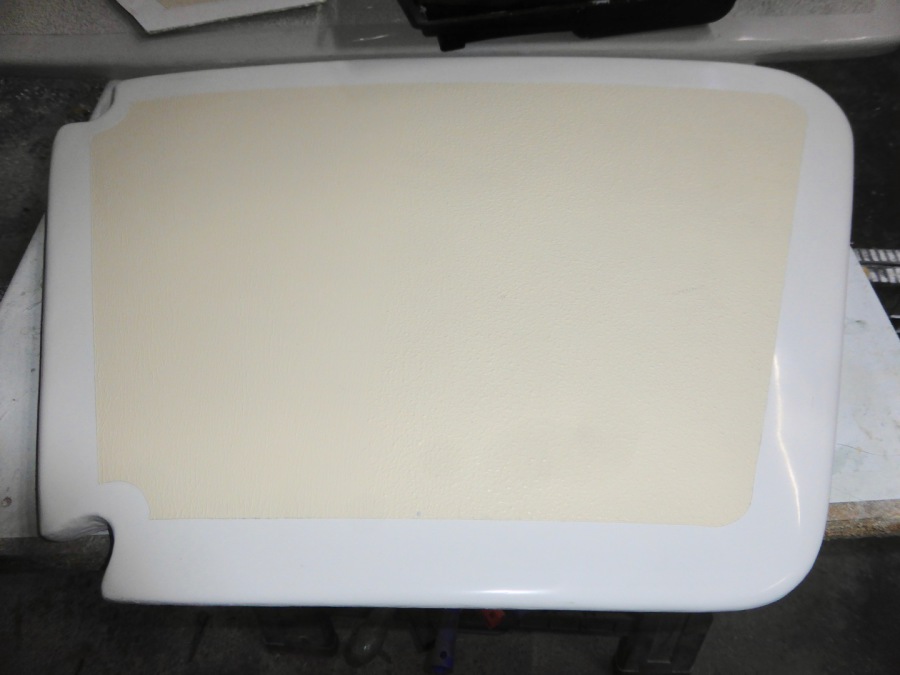
Above: Working up the chain hatch lid as a sample area to get the non-slip surface right. Note the polished edges of the gel coat which were replicated at all margins, even for deck fittings.
Below: Main deck almost complete.
Further pictures to follow.
Allures 44 - Serious aluminium water tank corrosion
I am also currently working on a refit of an Allures 44 yacht. This is an aluminium cutter sloop, buit in Cherbourg, France. She has a lifting aluminium keel with internal ballast and twin GRP rudders.
The refit has included various minor works but there is one aspect that is of interest and I have been surprised how many folk are not aware of this issue, which can cause a serious defect.
The minor items included things such as replacing batteries, sanitary hoses, altering the intake of the blown air for the heater to avoid possible CO poisoning,replacing the fuel tank sender, replacing the Volvo sail drive diaphragm, repairing the Brunton Auto Prop, removing and repairing the rudders (which were cracked on the centre-line joint), dropping the keel for maintenance of the lifting mechaism (a very sensible design means this is straight forward) and fitting an isolation transformer (I would say essential on an aluminium boat that spends any time using shore power in a marina). All fairly bog-standard stuff, but the owner lives in Switzerland and was releieved to hear that I could help him manage the works over the winter.
There is another more interesting aspect to this. See below these few photos.
 Crack along centreline of both rudders
The water tank is 550 litres and is integral to the hull plating on one side of the internal ballast which is either side of the keel casing. Above the sides of the water tank is the galley (outboard) and some storage (against the keel casing) with a walk way between.
When I surveyed her, I found two relatively deep pits in the plating externallly. I also opened up the water tank and found more pits, one even deeper (3mm in 6mm plate).
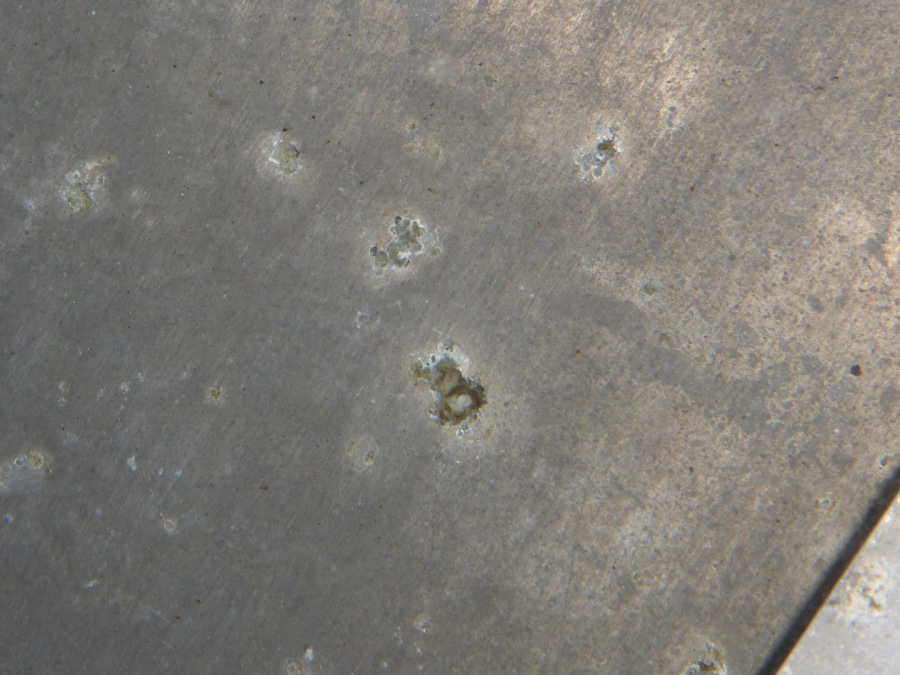
This corrosion is caused by alkaliis in the water. I am aware of at least three sources of alkalii: chlorinated mains water; hard water (which includes carbonates) and water purification tablets (more chloroides). These impurities form small nodules which settle on the bottom of the tank, cause corrosion and slowly burrow their way in.
So far, after many attempts to clarify design aspects with the builders we have not yet come up with a practical way to address this problem. Plan A was to cut three additional access hatches in the top of the tank (there are lateral aluminium 'floors' that separate the tank into four sections), clean out all desposits,identify all pits in the plating, key the aluminium, repair the pits with an aluminium plate stuck on with food grade epoxy and then paint food grade epoxy over the rest of the tank to prevent any further corrosion.(This epoxy coating would also avoid the health risks of an aluminium water tank.)
However, there are also longitudinal aluminium 'stringers', one either side of the tank dividing each of the four sections into three further sections. All these floors and stringers are structural. We cannot cut and re-weld the stringers (after cutting three more access hatches under the walkway) because there is fitted wooden furniture above both sides of the tank. The designers say we cannot cut, leaving a flange, and then bolt oversize plate to the flanges.That would need welding. The next option I am exploring is to cut 200mm round holes in the longitudinal plates to allow access with a grinder. That would be tricky work but it might be our only option other than either removing and replacing the furniture or abandoning the tank, filling it with rain water, sealing it off and fitting two additional, smaller tanks fore and aft and also possibly a water maker and generator. It might sound radical, but if there was further corrosion inside the tank, this would not endager the boat and once any pits burn through the hull, this would be spotted at lift out and repairs possible form the outside with little cost.
If you are interested, watch this space.
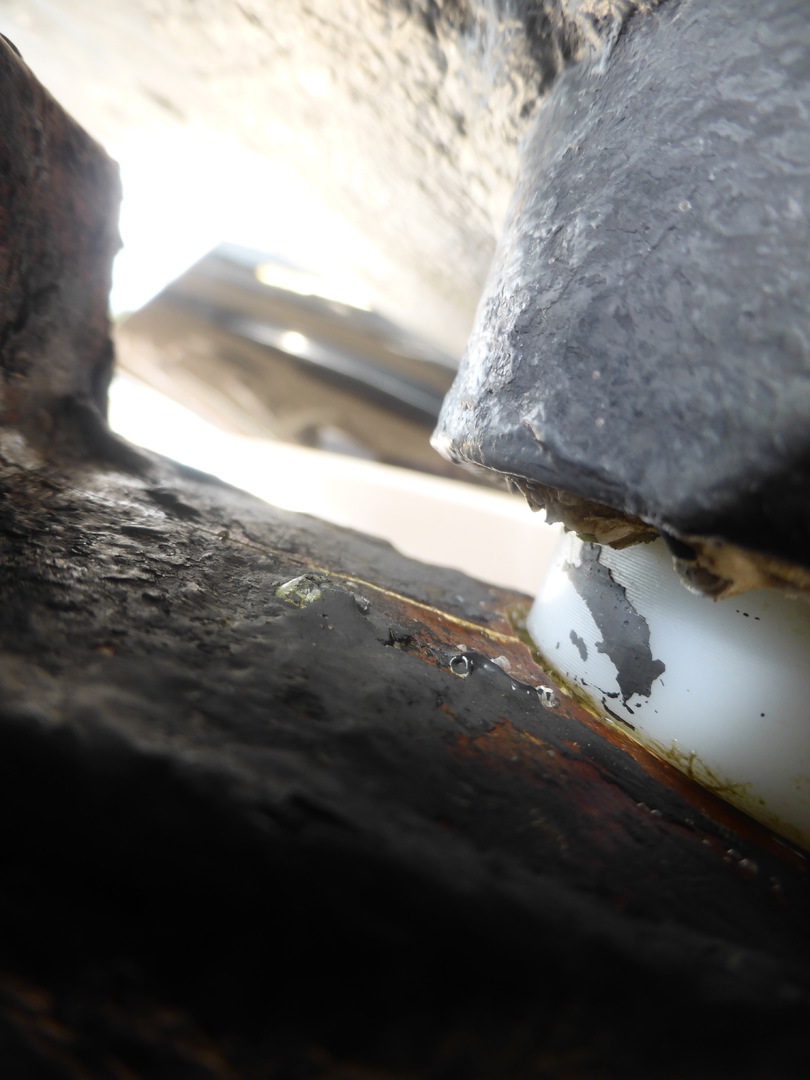
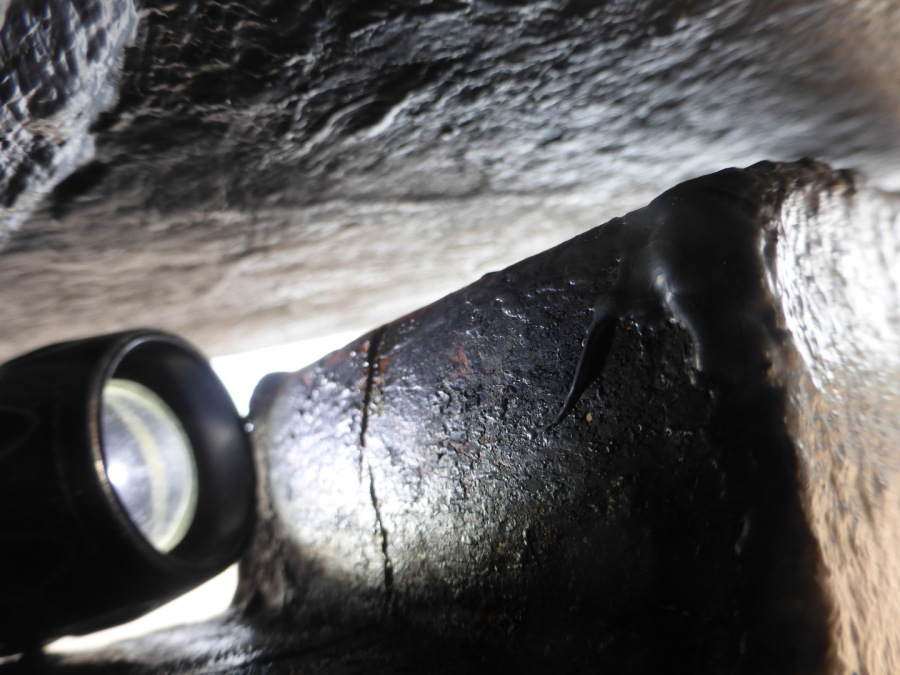
Here is an update to the above - Having got the tank empty, it was possible to make a more careful examination inside the small part that can be accessed. It did not take long to notice corrosion on a structural longitudinal stringer. The corrosion has gone right through the plate (5 or 6 mm) in one place. This was surprising as I had understood that, with this issue, nodules form and settle on the base of the tank. Not the sides, or any internal vertical surfaces. This means that we have to access all parts of the tank to make repairs and it also means that those repairs require welding. So all the furniture must be removed so we can access all of the tank, cut the top the tank off (or sections of it) and carry out the repairs before making good. That is a big job.
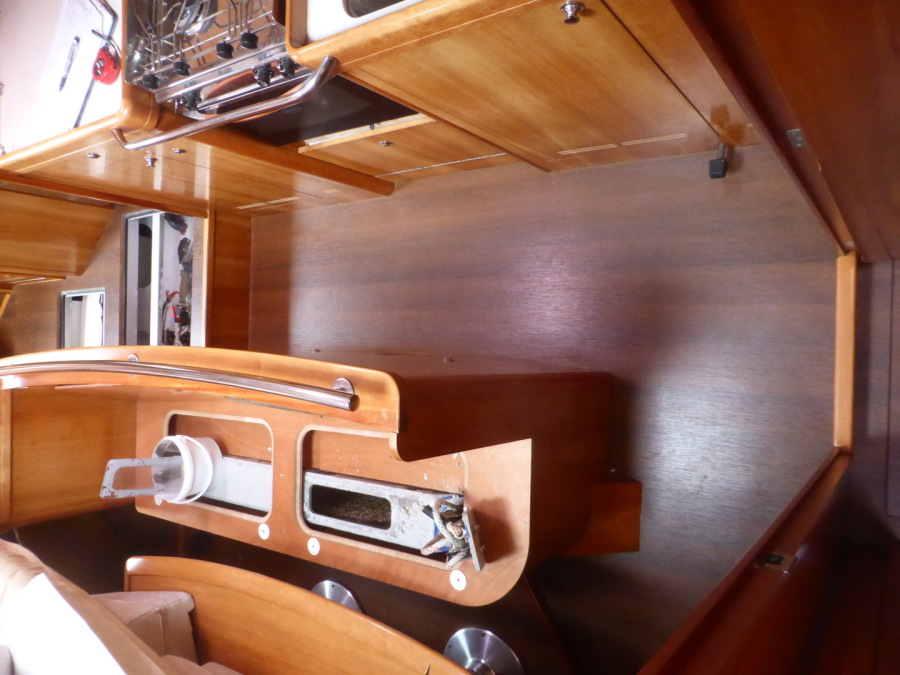 Aluminium water tank below furniture and galley sole
Jeanneau 44 inner moulding.
In April 2021, the owner of a Jeaneau Sun Odyssey 44 came to me asking for an 'out of the water only' survey. I obliged and completed my report. In the process, I noticed some delamination and cracking on the inner moulding as well as fractures on the hull below the waterline. The rudder had been damaged by impact on the leading edge of the foot and there was evidence the keel had hit something. All this amounted to evidence of a grounding, perhpas also then impacting on rocks either side of the hull casuing the fractures. There were some other less serious works needed as well which I won't go into here. The first jobs were to drop and repair the rudder and remove all the anti-fouling so we could inpect the hull and be sure that repairs did not miss any of the fractures.
 Rudder damage Jeanneau 44
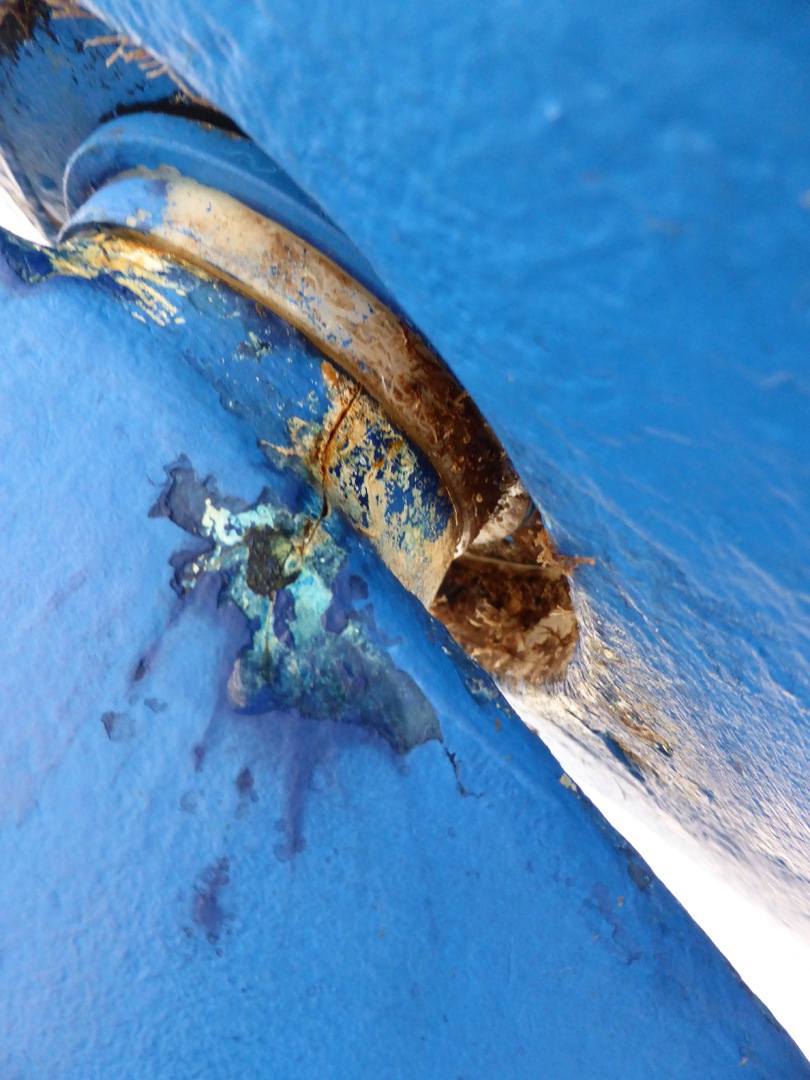
 Hull damage forward of the keel after grounding
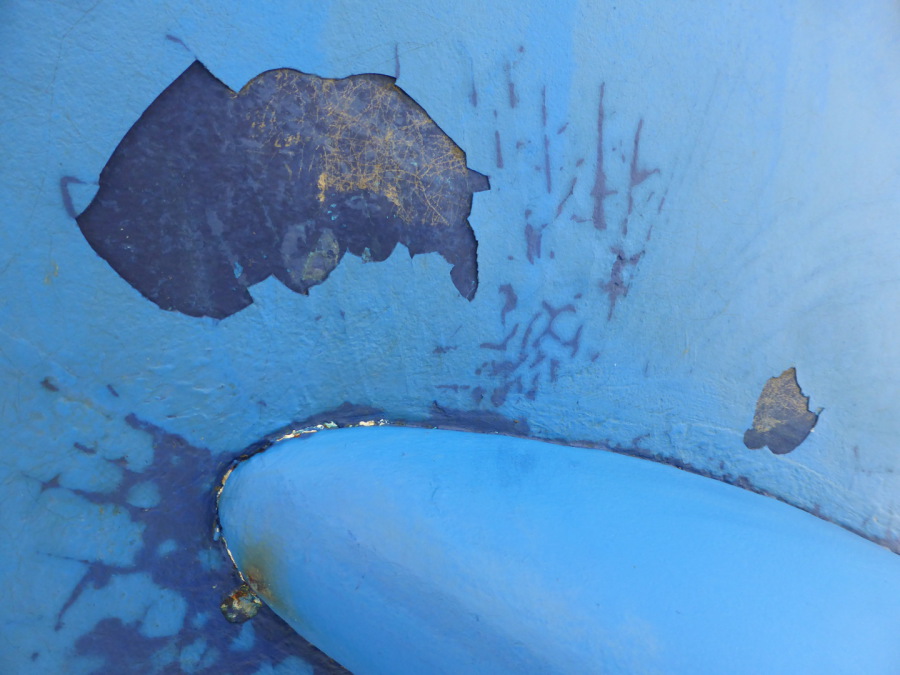
 Cracks running laterally aft of the keel after a grounding
 Cracks on the hull with anti-fouling removed
 Cracks aft of keel after grounding
The rudder repairs can be seen in a separate note about rudder repairs.
Moving inside we sheeted up inside to stop fine dust from penetrating beyond the places we would be working (centrally in the main cabin).
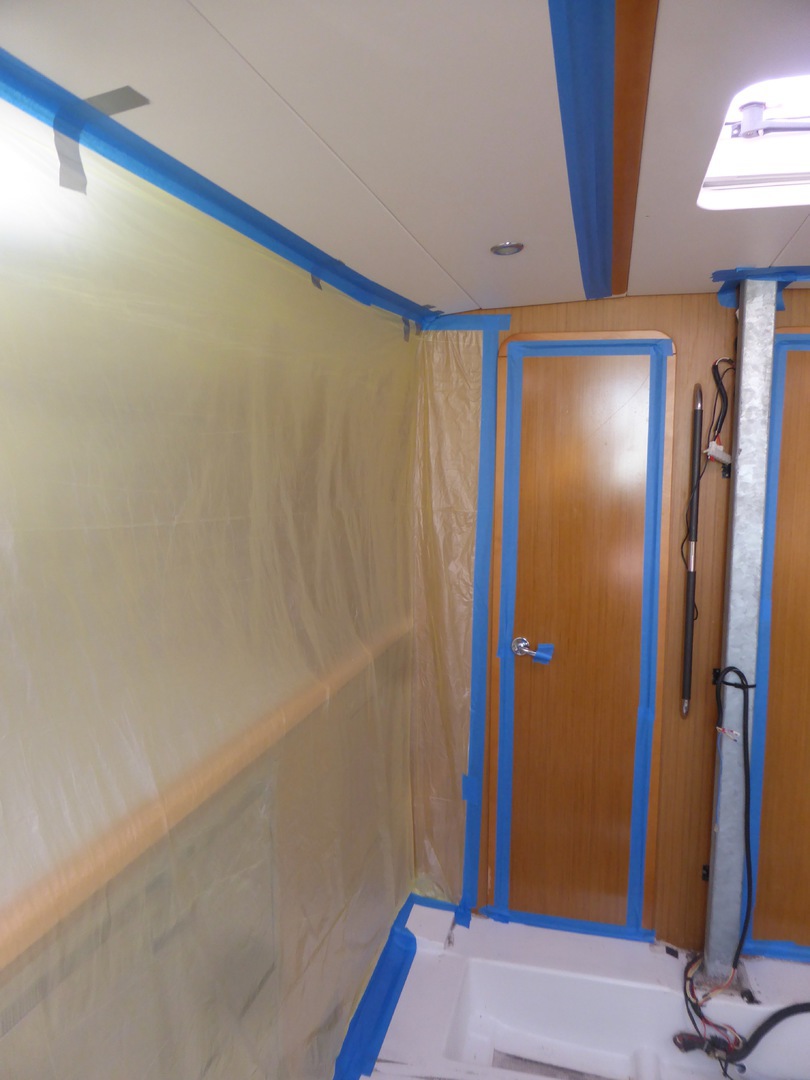 Sheeting off the cabins, galley and lockers before the internal repairs begin
Then we cut away those parts of the inner moulding that extended across the 'top hat' strcutures to reveal both the outer moulding and the join where bonding paste was used to stick the mouldings to each other, creating the required strength and stiffness.
In the area around the keel attachment, the inner moulding did not extend from 'top hat' to 'top hat' so the outer moulding was already exposed (from manufacture). This means the keel studs were bolted only to the outer moulding - not all designs do this with some bolting keel studs through both mouldings). This has been a problem for some designs because when the bonding between the mouldings fails (which is common), the outer moulding is not strong enough alone to support the weight and flexing of the keel, causing the keel to fall away, taking keel studs and part of the outer moulding with it.

Picture gallery: take a look at some of our services
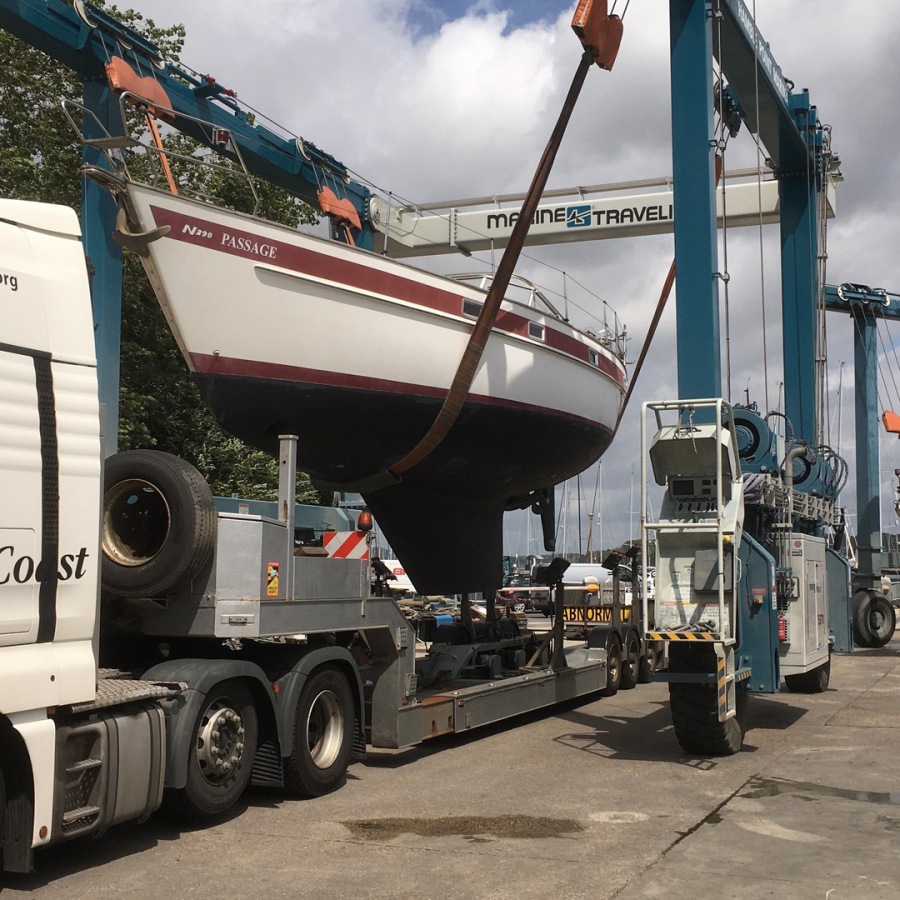 Najad 390 loaded for transport
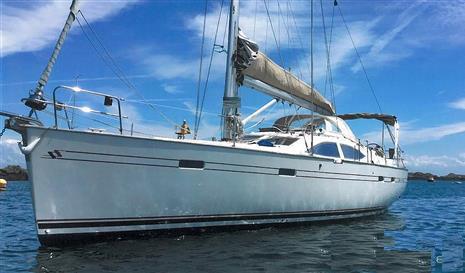 Allure 44 Isle of Wight - Aluminium and GRP
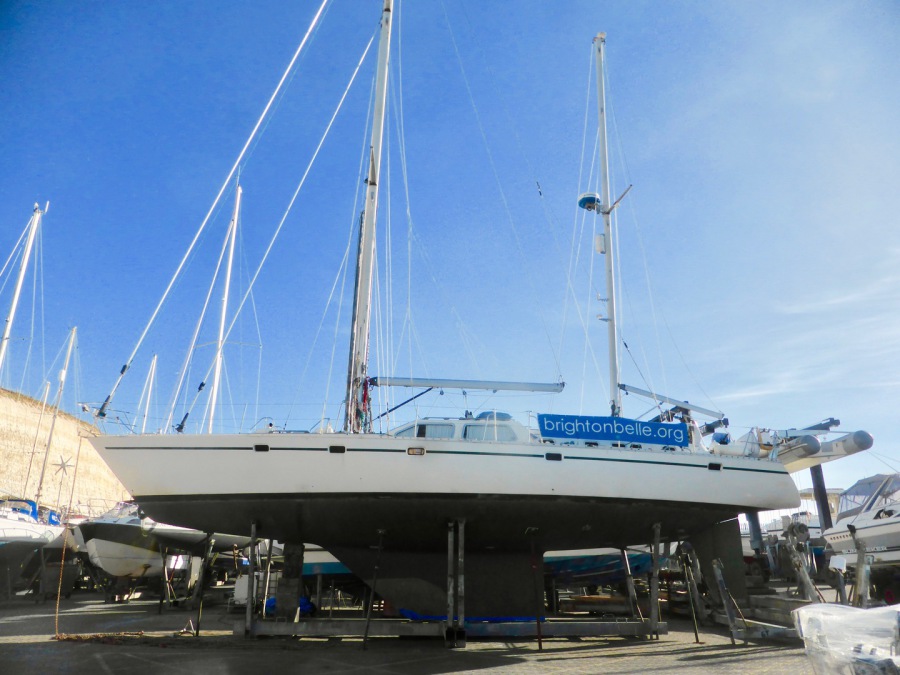 Oyster 55, Brighton Marina